The 4th of July is just around the corner, and what better way to celebrate America’s birthday than with a festive, handmade tie dye shirt? Forget generic store-bought tees; a DIY 4th of July tie dye shirt is a fun, creative way to express your patriotic spirit and stand out from the crowd. This guide will walk you through everything you need to know to create your own unique masterpiece, from choosing the right materials to mastering different tie dye techniques.
Why DIY Your 4th of July Tie Dye Shirt?
Beyond the simple fact that it’s fun, crafting your own 4th of July tie dye shirt offers a whole host of benefits. First, it’s a budget-friendly alternative to purchasing a pre-made shirt. Second, it allows for complete customization. You can choose your favorite colors, patterns, and even add personalized touches like stencils or embroidery. Finally, it’s a fantastic activity to do with friends and family, creating lasting memories while showing off your love for the red, white, and blue.
“There’s something incredibly satisfying about wearing something you created yourself,” says Sarah Miller, a textile artist from Brooklyn, NY. “A tie-dye shirt is more than just clothing; it’s a wearable piece of art that reflects your personality and creativity.”
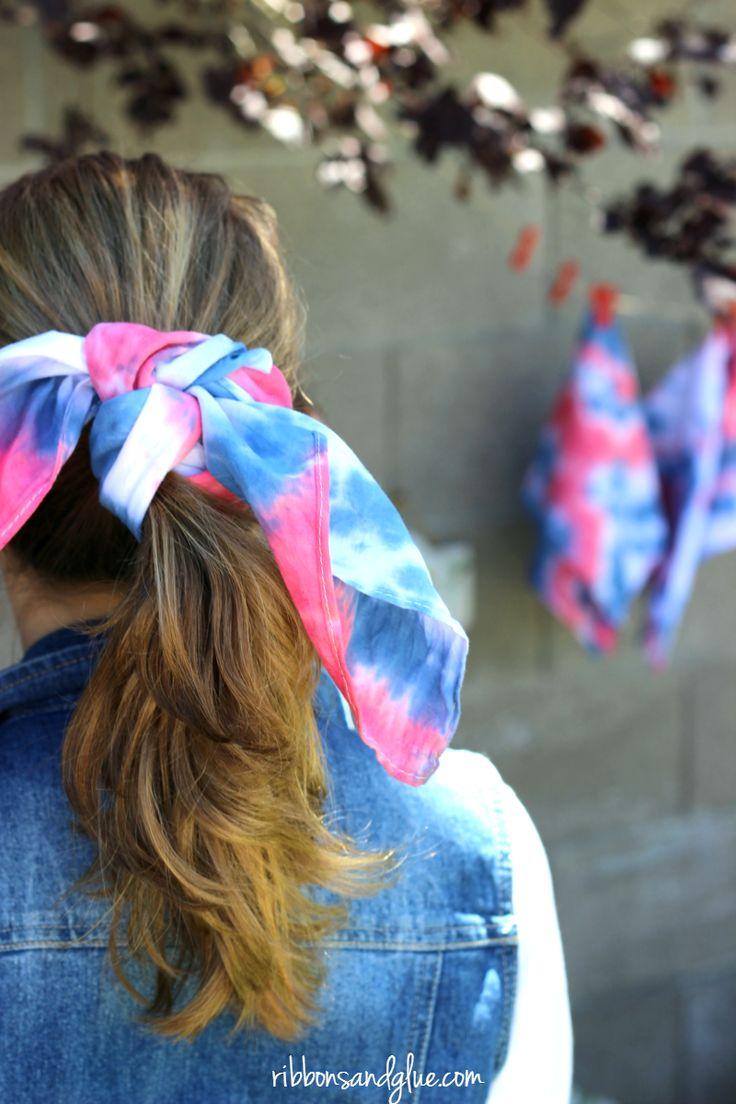
 american flag tie dye shirt diy project
Essential Materials for Your Tie Dye Adventure
Before you dive in, gather your supplies. Here’s a comprehensive list to ensure a smooth and successful tie dye experience:
- A White Cotton T-Shirt: Opt for 100% cotton for the best dye absorption. Pre-wash the shirt to remove any sizing or finishes.
- Tie Dye Kit: Choose a kit with red, white, and blue dyes specifically designed for cotton fabrics. Look for kits with low-impact, fiber-reactive dyes for vibrant and long-lasting color.
- Rubber Bands or String: These will be used to create the desired patterns. Invest in a variety of sizes for different effects.
- Squeeze Bottles or Applicator Bottles: These allow for precise dye application.
- Gloves: Protect your hands from staining.
- Plastic Drop Cloth or Table Cover: Protect your workspace from accidental spills.
- Plastic Bags or Ziploc Bags: For storing the dyed shirt while the dye sets.
- Optional: Stencils, Fabric Markers, or Embroidery Floss: To add personalized details.
You can even find inspiration for 4th of july tie dye shirt patterns online.
Step-by-Step Guide to Tie Dye Glory
Now that you have your materials, it’s time to get creative! Here’s a detailed guide to help you craft your perfect 4th of July tie dye shirt:
- Prepare Your Work Area: Cover your workspace with a plastic drop cloth to protect it from dye stains.
- Pre-Wash Your Shirt: Wash and dry your white cotton t-shirt without fabric softener. This removes any sizing that could prevent the dye from absorbing properly.
- Choose Your Tie Dye Technique: Select the pattern you want to create. We’ll cover some popular options below.
- Bind Your Shirt: Use rubber bands or string to tie your shirt according to your chosen technique. Make sure the ties are tight to create crisp lines in your pattern.
- Mix Your Dyes: Follow the instructions on your tie dye kit to mix your dyes.
- Apply the Dye: Using squeeze bottles, carefully apply the dyes to the different sections of your shirt. Be sure to saturate the fabric thoroughly.
- Let the Dye Set: Place the dyed shirt in a plastic bag or Ziploc bag and let it sit for the recommended time (usually 6-8 hours, or even overnight for more vibrant colors).
- Rinse and Wash: After the dye has set, rinse the shirt under cold water until the water runs clear. Then, wash the shirt in cold water with a mild detergent.
- Dry: Tumble dry on low or hang to dry.
Popular 4th of July Tie Dye Techniques
Here are a few popular tie dye techniques perfect for showing off your patriotic pride:
- Spiral: A classic tie dye pattern that creates a swirling effect.
- Stars and Stripes: Fold the shirt to create sections for red stripes and a blue area for white stars (using bleach or a white fabric marker).
- Bullseye: Creates concentric circles of color.
- Scrunch: A free-form technique that results in a random, organic pattern.
- American Flag: While more advanced, this technique allows you to create a recognizable American flag design on your shirt.
Don’t be afraid to experiment! The beauty of tie dye is that no two shirts are exactly alike.
Tips for a Tie Dye Triumph
- Pre-soak your shirt in soda ash: This helps the dye bind to the fabric more effectively.
- Use high-quality dyes: This will ensure vibrant and long-lasting colors.
- Don’t be afraid to get messy: Tie dye is a hands-on process, so embrace the mess!
- Let your creativity flow: Experiment with different colors, patterns, and techniques to create a truly unique shirt.
“The most important thing is to have fun and let your creativity shine,” advises David Lee, a graphic designer from Los Angeles, CA. “Don’t worry about making mistakes; they often lead to unexpected and beautiful results.”
 woman smiling wearing handmade fourth of july tie dye shirt
Adding a Personal Touch
Once your shirt is dyed, you can add even more personality with stencils, fabric markers, or embroidery. Consider adding stars, stripes, or even a personalized message to your shirt. You can also use bleach to create reverse tie dye effects.
You might even want to look for some funny womens 4th of july shirts for inspiration.
Tie Dye Safety First!
While tie dye is a fun and creative activity, it’s important to prioritize safety:
- Work in a well-ventilated area: Dye fumes can be irritating.
- Wear gloves and eye protection: Protect your skin and eyes from dye splashes.
- Follow the instructions on your tie dye kit carefully: This will ensure the best results and minimize any potential risks.
- Keep dyes out of reach of children and pets.
Show Your Patriotic Style
Creating your own 4th of July tie dye shirt is a rewarding and fun way to celebrate Independence Day. With a little creativity and effort, you can create a unique and festive shirt that shows off your patriotic spirit. So gather your supplies, get ready to get messy, and let your inner artist shine! Don’t forget to check out our selection of men's 4th of july polo shirts for other festive options!
FAQ: 4th of July Tie Dye Shirt DIY
-
What kind of shirt should I use for tie dye?
- A 100% cotton t-shirt is the best choice for tie dye, as it absorbs the dye most effectively. Pre-washing the shirt is also important to remove any sizing.
-
What’s the best way to set tie dye?
- After applying the dye, place the shirt in a plastic bag and let it sit for 6-8 hours, or even overnight, to allow the dye to fully set.
-
How do I wash a tie dye shirt for the first time?
- Rinse the shirt under cold water until the water runs clear. Then, wash the shirt separately in cold water with a mild detergent to prevent the dye from bleeding onto other clothes.
-
Can I use bleach for tie dye?
- Yes, you can use bleach to create reverse tie dye effects on darker colored shirts. Be sure to use bleach in a well-ventilated area and wear protective gear.
-
Where can I find inspiration for tie dye patterns?
- Online resources like Pinterest and YouTube are great sources of inspiration for tie dye patterns. You can also experiment with your own unique designs.
-
What if the colors aren’t as vibrant as I’d like?
- Soaking the shirt in soda ash before dyeing and letting the dye sit for a longer period can help to achieve more vibrant colors.
-
Is tie dye safe for kids?
- Tie dye can be a fun activity for kids, but adult supervision is necessary. Ensure they wear gloves and eye protection, and that the dyes are kept out of reach when not in use.
Pingback: Rock Your Independence Day: 4th of July Tie Dye Shirt Ideas - Creative T-Shirt, Hoodie, and Sweatshirt Ideas for Every Occasion | ShirtIdeas.us
Pingback: Funny Mens 4th of July Shirts: Show Your Patriotic Humor! - Creative T-Shirt, Hoodie, and Sweatshirt Ideas for Every Occasion | ShirtIdeas.us