The 100th day of school is a monumental milestone, a time for celebration, and a perfect opportunity to get creative with your kids! Forget the store-bought options; a DIY shirt is a personalized way to commemorate this special occasion. But where do you start? From simple iron-on designs to elaborate masterpieces, we’ve gathered a collection of inspiring 100 Days Of School Diy Shirt Ideas that will make your child stand out from the crowd. This article will provide you with creative ideas, helpful tips, and everything you need to create a unique and memorable shirt.
Let’s dive into a world of glitter, glue, and a whole lot of fun, crafting the perfect 100th-day-of-school shirt!
Unleash Your Creativity: 100 Days of School Shirt Ideas
The possibilities are endless when it comes to designing a 100th-day shirt. Consider your child’s interests, favorite colors, and crafting abilities when brainstorming ideas. Here’s a mix of simple and more involved options to spark your imagination. If you’re looking for something quick and easy, check out homemade 100 days of school shirt ideas.
-
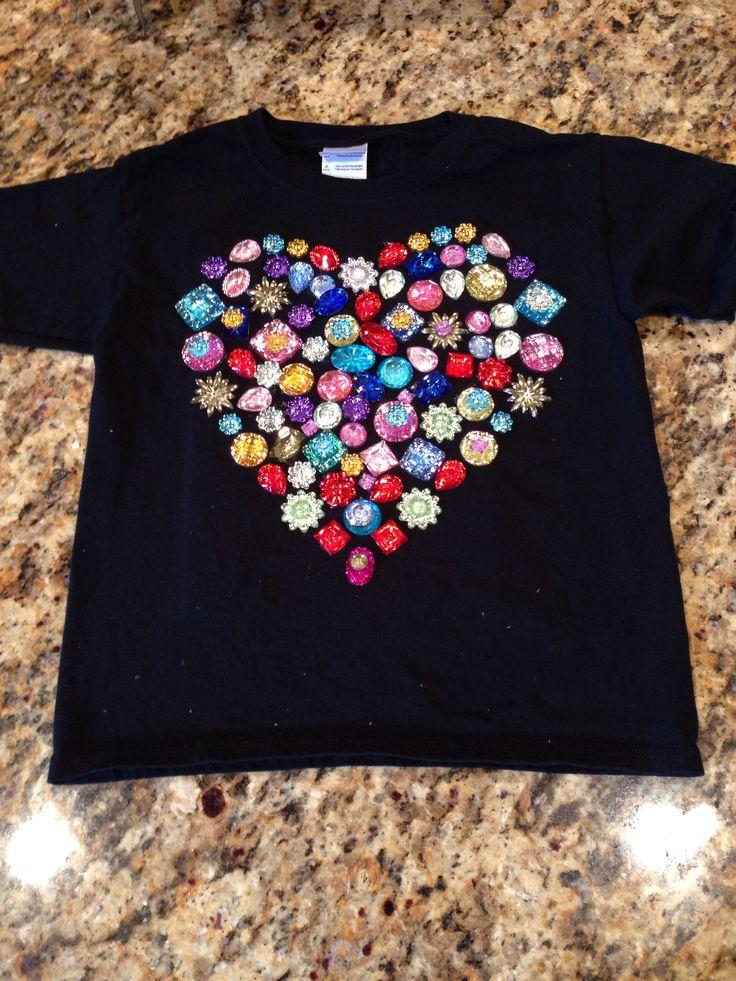
Button Bonanza: Glue 100 buttons of varying sizes and colors onto a plain t-shirt. This is a great way to practice fine motor skills.
-
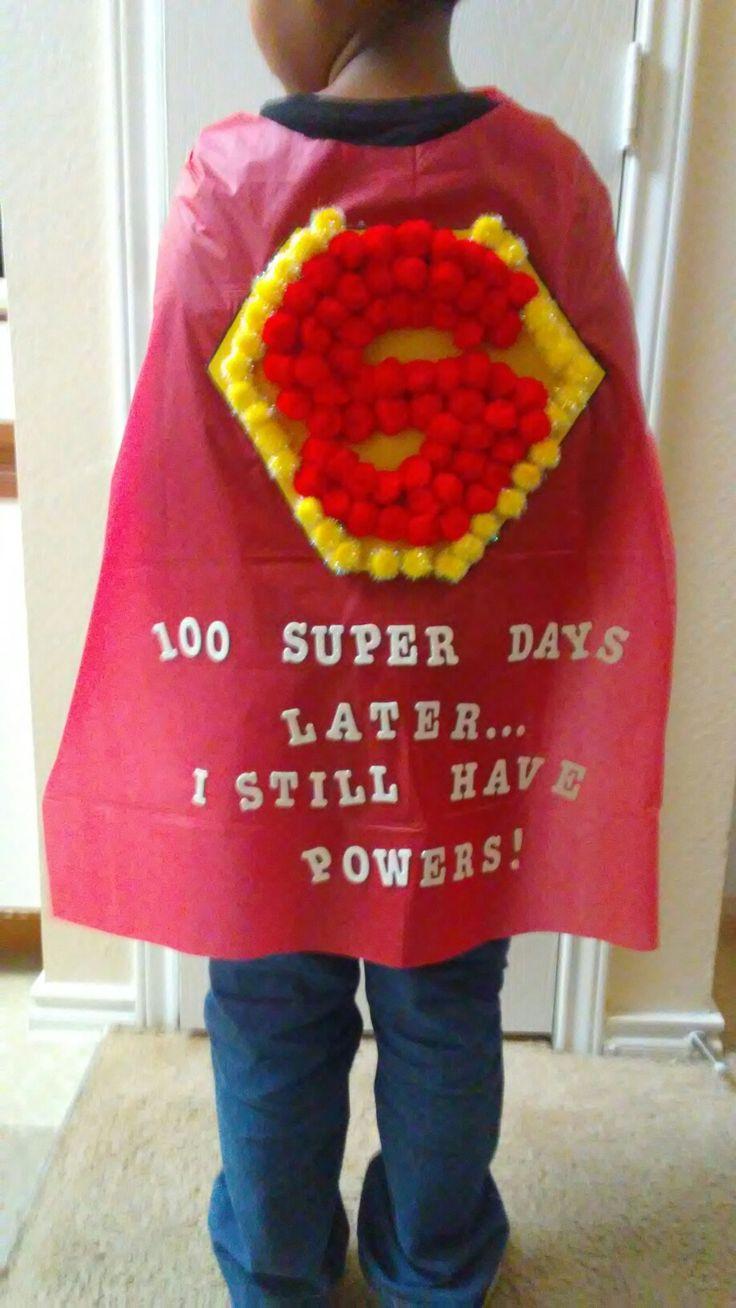
Pom-Pom Power: Attach 100 colorful pom-poms for a fun, textured look. This option is especially appealing to younger children.
-
Coin Collection: Adhere 100 pennies or other small coins to a shirt. This can be a fun way to incorporate a math lesson into the crafting process.
-
Snack Attack: Glue 100 small candies or snacks (individually wrapped, of course!) onto a shirt. This is a sweet treat for the eyes!
-
Iron-On Extravaganza: Use iron-on letters or designs to create a custom message or image. This is a versatile option for all skill levels.
-
Handprint Heaven: Decorate a shirt with 100 handprints using fabric paint. This is a sentimental option that captures a moment in time.
-
Gumball Glam: Glue 100 gumballs (or images of gumballs) onto the shirt. Consider different flavors and colors!
-
Pasta Paradise: Paint and glue 100 pieces of pasta onto the shirt in a creative design. Think spirals, shells, and macaroni masterpieces!
-
Googly Eye Galaxy: Attach 100 googly eyes in different sizes and colors. This is a playful and silly option that kids will love.
-
Sticker Spectacular: Use 100 stickers to create a personalized design. This is a simple and mess-free option, perfect for younger children.
 100 days of school shirt made with colorful buttons glued on.
Making it Personal: DIY Tips and Tricks
Creating a DIY 100th-day shirt is more than just gluing things onto fabric. It’s about making it personal and reflecting your child’s unique personality. Here are some tips and tricks to help you along the way:
-
Plan Ahead: Don’t wait until the last minute! Start brainstorming ideas and gathering supplies well in advance.
-
Get Your Child Involved: Let your child take the lead in the design process. After all, it’s their shirt!
-
Choose the Right Shirt: Select a comfortable and well-fitting t-shirt in a neutral color. White is a classic choice, but light gray or other pastel colors can also work well.
-
Use Fabric Glue: Regular glue may not adhere properly to fabric. Fabric glue is specifically designed for this purpose and will ensure that your decorations stay in place.
-
Protect Your Work Surface: Cover your work area with newspaper or a plastic tablecloth to prevent messes.
-
Let it Dry Completely: Allow the glue or paint to dry completely before wearing the shirt. This may take several hours or even overnight.
-
Consider Washing Instructions: Check the care label on your t-shirt and choose decorations that can withstand washing. Hand-washing is often the safest option.
-
Practice Makes Perfect: If you’re using a more complex design, consider practicing on a scrap piece of fabric first.
-
Add a Personal Touch: Incorporate elements that reflect your child’s interests, such as their favorite animal, color, or hobby.
“The best 100th-day shirts are the ones that tell a story,” says Emily Carter, a crafting enthusiast and mother of two. “Don’t be afraid to get creative and let your child’s personality shine through.”
Beyond the Basics: Advanced DIY Techniques
Ready to take your 100th-day shirt to the next level? Here are some advanced DIY techniques to consider:
- Tie-Dye: Create a colorful and unique tie-dye pattern as a base for your 100th-day design.
- Stencil Art: Use stencils to create intricate designs with fabric paint.
- Embroidery: Add embroidered details for a sophisticated and personalized touch.
- Applique: Sew or glue fabric scraps onto the shirt to create a layered design.
- Mixed Media: Combine different crafting techniques, such as painting, gluing, and sewing, for a truly unique and eye-catching shirt.
- Heat Transfer Vinyl (HTV): Use a cutting machine like a Cricut or Silhouette to create custom designs from HTV and iron them onto the shirt. This allows for precise and professional-looking results.
Remember to choose techniques that you are comfortable with and that are appropriate for your child’s age and skill level. Safety first! And for inspiration specifically for girls, explore 100 days of school shirt ideas girl diy.
 Tie dye 100 days of school shirt with colorful swirling patterns
Making it Educational: Incorporating Learning
The 100th day of school is a great opportunity to reinforce learning concepts. Here are some ways to incorporate educational elements into your DIY shirt design:
-
Counting: Use the shirt as a visual aid for counting to 100. Arrange the decorations in groups of 10 or 20 to make it easier for your child to count.
-
Math: Incorporate math symbols or equations into the design. For example, you could write “100 = 50 + 50” or “10 x 10 = 100.”
-
Literacy: Use the shirt to practice letter recognition or spelling. You could write “100 Days Smarter” or spell out the word “hundred” using different materials.
-
Science: Incorporate science-related themes or images, such as planets, animals, or plants. You could even glue 100 small seeds onto the shirt to represent growth and learning.
-
History: Celebrate historical figures or events that relate to the number 100. For example, you could feature a portrait of someone who lived to be 100 years old.
“Integrating learning into the shirt design makes the celebration even more meaningful,” explains Dr. James Peterson, an educational psychologist specializing in child development. “It reinforces concepts learned in the classroom in a fun and engaging way.”
If you need ideas specifically tailored for girls, check out 100 days of school shirt ideas girl.
Finding Inspiration: Where to Look for Ideas
Still feeling stuck? Don’t worry! There are plenty of places to find inspiration for your 100th-day shirt design:
-
Pinterest: Pinterest is a treasure trove of DIY ideas. Search for “100 days of school shirt” to find countless examples and tutorials.
-
Etsy: Etsy is a great place to find unique and handmade items. Browse through the 100th-day shirt section to see what other crafters have created.
-
Instagram: Instagram is a visual platform where you can find inspiration from other parents and teachers. Search for hashtags like #100thdayofschool or #diyshirt.
-
Google Images: Google Images is a quick and easy way to find a variety of images related to 100th-day shirts.
-
Craft Blogs: Many craft blogs feature tutorials and inspiration for DIY projects. Look for blogs that focus on kids’ crafts or t-shirt design.
-
Your Child’s School: Ask your child’s teacher or classmates for ideas. They may have seen some creative shirts in the past.
Remember to adapt the ideas you find to suit your child’s individual style and preferences.
Considering the Boys: Ideas for the Guys
Don’t forget about the boys! Here are a few shirt ideas geared toward them. You can find more at boys' 100 day of school shirt ideas.
- 100 Legos: Glue or iron on 100 Lego bricks to a shirt.
- 100 Sports Balls: Use small felt cutouts of baseballs, basketballs, or soccer balls.
- 100 Army Men: Attach small plastic army men to the shirt for a playful, action-packed design.
- 100 Construction Vehicles: Print or cut out images of construction vehicles like dump trucks, bulldozers, and excavators.
 A boy's 100 days of school shirt with 100 legos attached
Where to Buy If You’re Short on Time
Sometimes, despite your best intentions, time simply isn’t on your side. If you find yourself in a pinch, don’t worry! There are still plenty of options for getting a 100th-day shirt without sacrificing style or personalization. Search for 100 days of school t shirt near me to find local options.
- Online Retailers: Many online retailers, such as Amazon, Etsy, and Target, sell pre-made 100th-day shirts in a variety of styles and designs.
- Custom T-Shirt Printing Services: Consider using a custom t-shirt printing service to create a personalized shirt with your own design or message. These services often offer quick turnaround times and affordable prices.
- Local Craft Stores: Check your local craft stores for iron-on letters, designs, and other embellishments that you can use to personalize a plain t-shirt.
- School Fundraisers: Some schools offer 100th-day shirts as part of a fundraising effort. This is a great way to support your child’s school while getting a festive shirt.
Conclusion
The 100th day of school is a special occasion that deserves to be celebrated in style. A DIY shirt is a fun, creative, and personalized way to commemorate this milestone. Whether you choose a simple glue-on design or a more elaborate creation, the most important thing is to have fun and let your child’s personality shine through. With a little planning and creativity, you can create a 100th-day shirt that your child will cherish for years to come. Happy crafting!
FAQ: Your 100 Days of School Shirt Questions Answered
Here are some frequently asked questions about creating 100th-day shirts:
Q: What kind of glue should I use?
A: Fabric glue is the best option for adhering decorations to a t-shirt. It’s specifically designed to bond with fabric and will hold up better than regular glue.
Q: How can I make the shirt washable?
A: Choose decorations that are washable or water-resistant. Hand-washing is always the safest option.
Q: How do I prevent the glue from seeping through the fabric?
A: Place a piece of cardboard or plastic between the layers of the shirt to prevent the glue from seeping through.
Q: What if I don’t have 100 of something?
A: Get creative! You could use different materials or create a design that represents the number 100 in a symbolic way.
Q: How can I make the shirt more comfortable for my child to wear?
A: Choose soft, lightweight materials and avoid using too much glue or heavy decorations.
Q: What if my child doesn’t like the design I created?
A: Involve your child in the design process from the beginning to ensure that they’re happy with the final product.
Q: Can I use a sewing machine to attach the decorations?
A: Yes, if you’re comfortable using a sewing machine, you can sew the decorations onto the shirt for a more secure and durable attachment.