The 4th of July is the perfect occasion to show off your American pride, and what better way to do that than with a custom-made tie-dye shirt? Creating your own patriotic apparel is fun, affordable, and allows you to express your unique style. This guide explores various 4th Of July Tie Dye Shirt Patterns, offering tips, tricks, and inspiration to help you create a wearable masterpiece.
Why Tie Dye for the 4th of July?
Tie dye is more than just a craft; it’s a symbol of individuality and creativity. For the 4th of July, it’s a fantastic way to blend tradition with a modern twist. The vibrant colors of red, white, and blue lend themselves perfectly to tie dye techniques, resulting in eye-catching designs that celebrate freedom and independence.
Essential Supplies for 4th of July Tie Dye
Before diving into the patterns, gather your supplies:
- White Cotton T-Shirts: 100% cotton works best for dye absorption. Pre-wash them to remove any sizing.
- Tie Dye Kit: Opt for a kit specifically designed for tie dye, containing red, white (color remover if you’re starting with a colored shirt), and blue dyes.
- Squeeze Bottles: For precise dye application.
- Rubber Bands: To secure the fabric in various patterns.
- Gloves: To protect your hands from the dye.
- Plastic Drop Cloth: To protect your workspace.
- Plastic Bags or Container: To place the dyed shirts while they process.
- Optional: Stencils, star-shaped cutouts, bleach pens.
Popular 4th of July Tie Dye Shirt Patterns
Here are some popular patterns to consider:
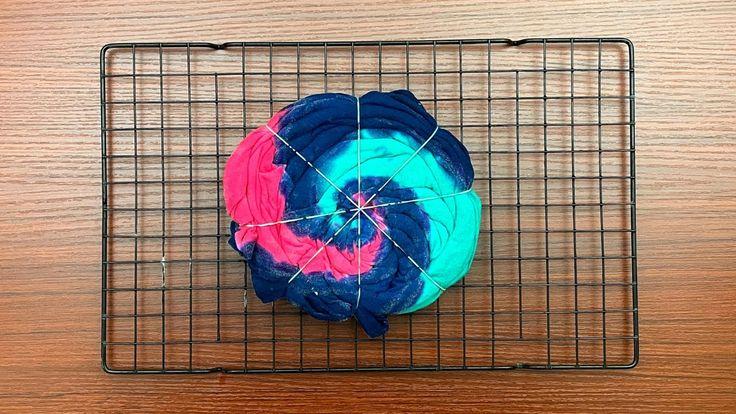
Spiral
The spiral is a classic tie-dye pattern.
- Lay the shirt flat.
- Pinch the fabric at the center point where you want the spiral to originate.
- Twist the fabric around that point until it forms a tight spiral.
- Secure the spiral with rubber bands, dividing it into pie-shaped sections.
- Apply red, white (or bleach), and blue dye to the sections, alternating colors.
 spiral tie dye design
Bullseye
The bullseye pattern creates concentric circles.
- Pinch the fabric at multiple points along the shirt.
- Pull each pinch upwards and secure with a rubber band several inches below the pinch, creating a cone shape.
- Apply dye to each section of the cone, using red, white (or bleach), and blue.
Stripes
Stripes offer a more straightforward, graphic look.
- Fold the shirt accordion-style, creating vertical or horizontal pleats.
- Secure the pleats with rubber bands at regular intervals.
- Apply dye to the sections between the rubber bands, alternating colors.
Crumple
The crumple method creates a random, abstract design.
- Crumple the shirt into a loose ball.
- Secure the ball with rubber bands in several places.
- Apply dye randomly over the crumpled fabric.
Star-Spangled Banner Effect
This method incorporates star shapes for a truly patriotic design.
- Tie dye the shirt using one of the above methods, creating a red and blue base.
- Once the shirt is dry, use star-shaped stencils or cutouts with a bleach pen to create star patterns on the dyed fabric. Always follow bleach pen safety instructions.
“Don’t be afraid to experiment! Tie dye is all about embracing the unexpected. Sometimes, the ‘mistakes’ are what make a design truly unique,” says Sarah Miller, a textile artist specializing in tie-dye techniques.
Tips for Success
- Pre-Soak Shirts: Soaking shirts in soda ash solution helps the dye adhere better.
- Dye Application: Apply dye generously, ensuring it penetrates the fabric.
- Processing Time: Follow the dye kit instructions for processing time, usually 6-8 hours.
- Washing: Wash the shirt separately in cold water to remove excess dye.
Beyond the Basics: Advanced Techniques
For those looking to elevate their tie dye game:
- Ice Dyeing: Place ice cubes on top of the fabric and sprinkle dye powder over the ice. As the ice melts, it creates unique patterns.
- Reverse Tie Dye: Start with a colored shirt and use bleach to create lighter areas in patterns.
- Shibori-Inspired Designs: Explore Japanese Shibori techniques for intricate and geometric patterns.
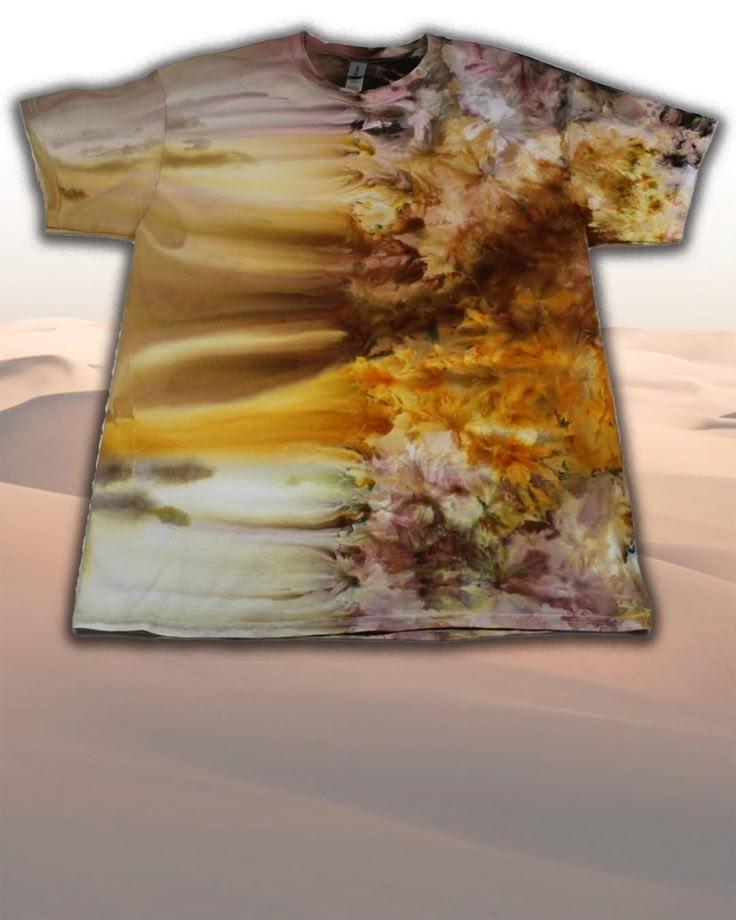 Ice Dye Shirt Pattern
“The key to successful tie dye is patience. Let the dye sit for the recommended time, and don’t be tempted to rinse it too early,” advises David Anderson, a DIY fashion expert and tie-dye enthusiast.
Caring for Your Tie Dye Shirt
- Wash inside out in cold water.
- Use a color-safe detergent.
- Avoid bleach.
- Tumble dry low or hang to dry.
Express Your Patriotism with Style
Creating 4th of July tie dye shirts is a fun and rewarding project. Whether you choose a classic spiral, bold stripes, or a star-spangled design, you’ll have a unique piece of clothing that showcases your American spirit. So, gather your supplies, unleash your creativity, and get ready to celebrate Independence Day in style!
FAQ About 4th of July Tie Dye Shirts
- What type of shirt is best for tie dye? 100% cotton shirts are ideal as they absorb dye well.
- Can I use regular fabric dye for tie dye? Yes, but ensure it’s suitable for the fabric you’re using and follow the manufacturer’s instructions.
- How long should I leave the dye on the shirt? Follow the instructions on your dye kit, typically 6-8 hours.
- Will the colors fade after washing? Washing in cold water with color-safe detergent helps minimize fading.
- Can I tie dye a black shirt? Yes, but you’ll need to use a color remover or bleach to create lighter areas for the design.
- What if I don’t have a tie dye kit? You can purchase individual dyes and use household items like rubber bands and squeeze bottles.
- How do I prevent the colors from bleeding together? Rinse the shirt thoroughly in cold water until the water runs clear.
Pingback: 4th of July Tie Dye Shirt DIY: Show Your Patriotic Spirit - Creative T-Shirt, Hoodie, and Sweatshirt Ideas for Every Occasion | ShirtIdeas.us